
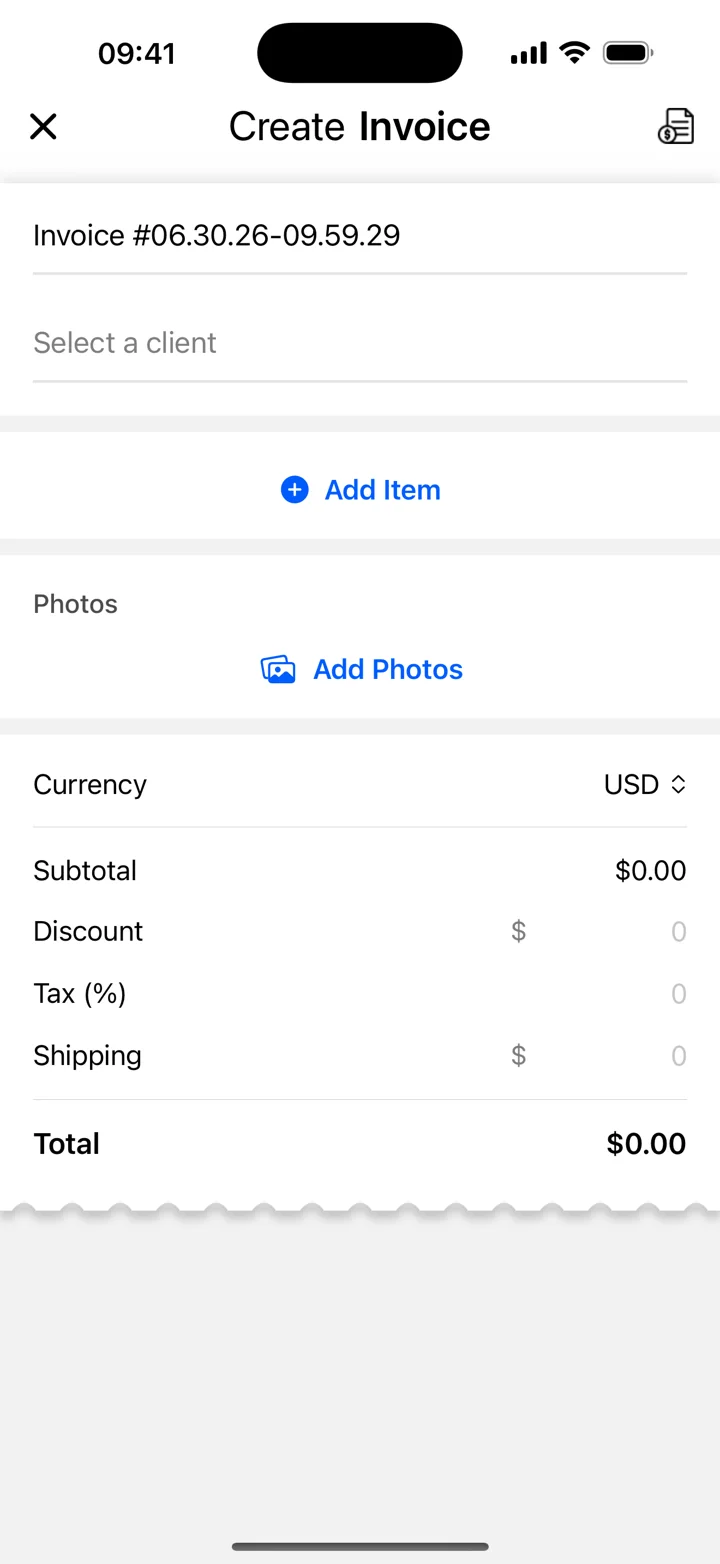
1. Gather the details before you start
Have your business contact information, the client’s billing details, the agreed work and rates, an invoice number, and your payment instructions ready. Ask whether your client needs a purchase order reference or a specific billing email.
2. Add the client and the work
In Invoice Maker, create an invoice and choose or add the client. Add a separate line for each service or product with its quantity and price. “Logo design — agreed project fee” is clearer than “Work”. Use the currency agreed with your client.
3. Check the dates and total
Review the invoice number, invoice date, payment due date, subtotal, and any applicable tax. Use a consistent numbering system. Include tax only as required for your circumstances; a template does not decide whether you need to charge it.
4. Share a PDF and keep a copy
Open the completed invoice, review it, and use the sharing option to send the PDF to the correct client contact. Keep a copy of the exact document you sent. When payment arrives, update your records rather than assuming sending the invoice means it has been paid.
These guides explain everyday invoicing workflows. Examples are illustrative; check the rules that apply to your business and location.
Reference: GOV.UK — UK invoice requirements ↗